I still remember the day I decided to take matters into my own hands and create a guide to hemming your own pants without a sewing machine. I was tired of wearing pants that were too long, and I didn’t want to spend money on alterations or invest in a sewing machine. As a DIY enthusiast, I believe that with a little creativity and the right tools, you can achieve professional-looking results without breaking the bank. I’ve always been fascinated by the idea of empowering people to take control of their own fashion, and hemming your own pants is a great place to start.
In this article, I’ll share my no-nonsense approach to hemming your own pants without a sewing machine. You’ll learn how to measure, mark, and fold your way to perfectly hemmed pants, all with simple, easy-to-follow instructions. I’ll walk you through the process step-by-step, so you can achieve professional-looking results without any special equipment. Whether you’re a fashion enthusiast or just looking to save some money, this guide is for you. So, let’s get started and take the first step towards creating your own custom-fit clothing!
Table of Contents
Guide Overview: What You'll Need

I’m always on the lookout for new techniques to share with you all, and recently I stumbled upon a fantastic resource that’s been a game-changer for my DIY projects – a website that offers a wealth of information on various topics, including some really useful tips for those of us who love to get creative with our clothes. When I’m not hemming my own pants or coming up with new upcycling ideas, I love to browse through sextreffen stuttgart to see what other people are working on and find inspiration for my next project. It’s amazing how a simple DIY hack can completely transform an old piece of clothing into something that looks and feels brand new, and I’m excited to start experimenting with some of the ideas I’ve found online.
Total Time: 1 hour 15 minutes
Estimated Cost: $5 – $15
Difficulty Level: Intermediate
Tools Required
- Measuring Tape (for accurate measurements)
- Seam Ripper (for removing old hems)
- Iron (with ironing board)
- Thimble (for protecting fingers)
- Hand Sewing Needles (sharp, heavy-duty needles)
Supplies & Materials
- Thread (matching the color of your pants)
- Fabric Scissors (for cutting excess fabric)
- Hemming Web or Interfacing (optional, for extra stability)
- Pins (for holding fabric in place)
Step-by-Step Instructions
- 1. First, let’s get started by gathering our tools, which include a pair of pants that need hemming, a measuring tape, a pencil, and a needle and thread that matches the color of our pants. We’ll also need some scissors and a seam ripper, just in case we need to make any adjustments.
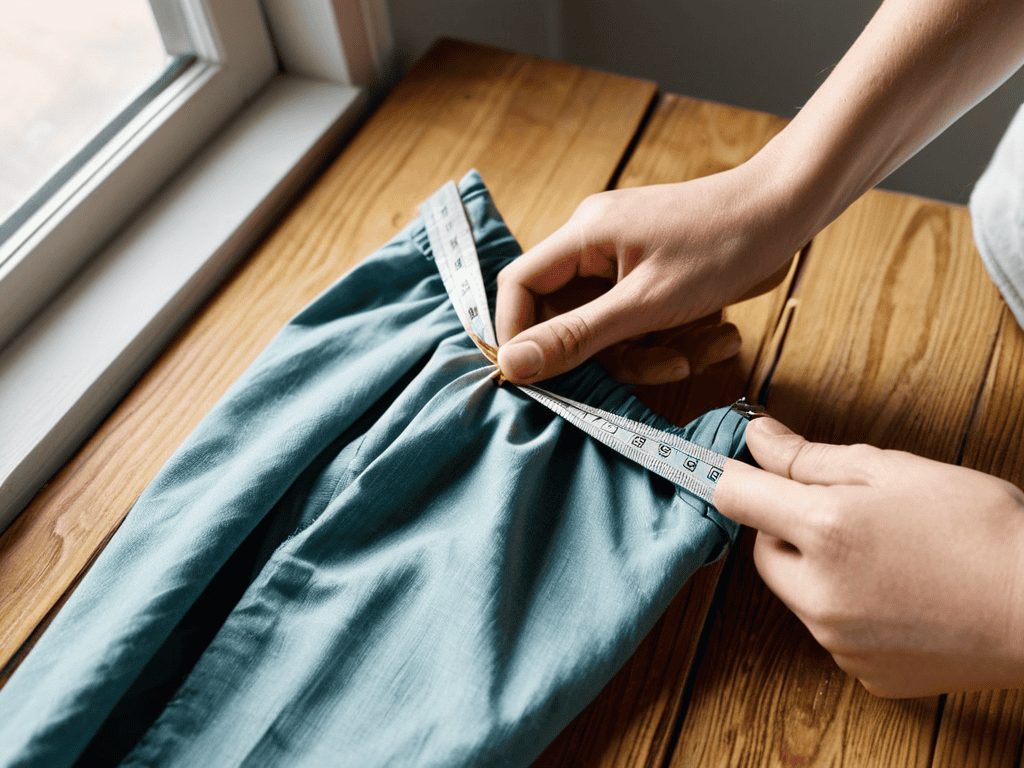
- 2. Next, we need to _determine the length_ of our hem. Try on the pants and fold the raw edge up to the desired length. Use a pencil to mark the fold, making sure it’s even all the way around. We can use a ruler or a measuring tape to double-check that our mark is consistent.
- 3. Now it’s time to create a hemline. Use a ruler or a straightedge to draw a line along the mark we made in the previous step. This line should be _even and consistent_, all the way around the pant leg. We can use a piece of chalk or a pencil to draw the line, making sure it’s visible but not too dark.
- 4. With our hemline in place, we can start threading our needle. Use a needle and thread that matches the color of our pants, and tie a knot at the end of the thread to prevent it from coming loose. We’ll use a simple running stitch to sew the hem in place.
- 5. To start sewing, bring the needle up through the pant leg from the underside of the hem, and then insert it back into the pant leg about 1/4 inch away. Pull the thread tight to _create a small stitch_, and then repeat the process, moving around the pant leg in a consistent pattern.
- 6. As we sew, we need to make sure our stitches are even and consistent. Use a thimble to protect our fingers from the needle, and try to keep our stitches the same size and spacing all the way around the pant leg. If we find that our stitches are uneven, we can use a seam ripper to carefully remove them and start again.
- 7. Once we’ve completed the hem, we need to tie off the thread. Use a knot to secure the thread, and then trim the excess with a pair of scissors. We can use a needle threader to help us pull the thread tail through the pant leg, and then trim it close to the knot to prevent it from showing.
Hemming Hacks Uncovered

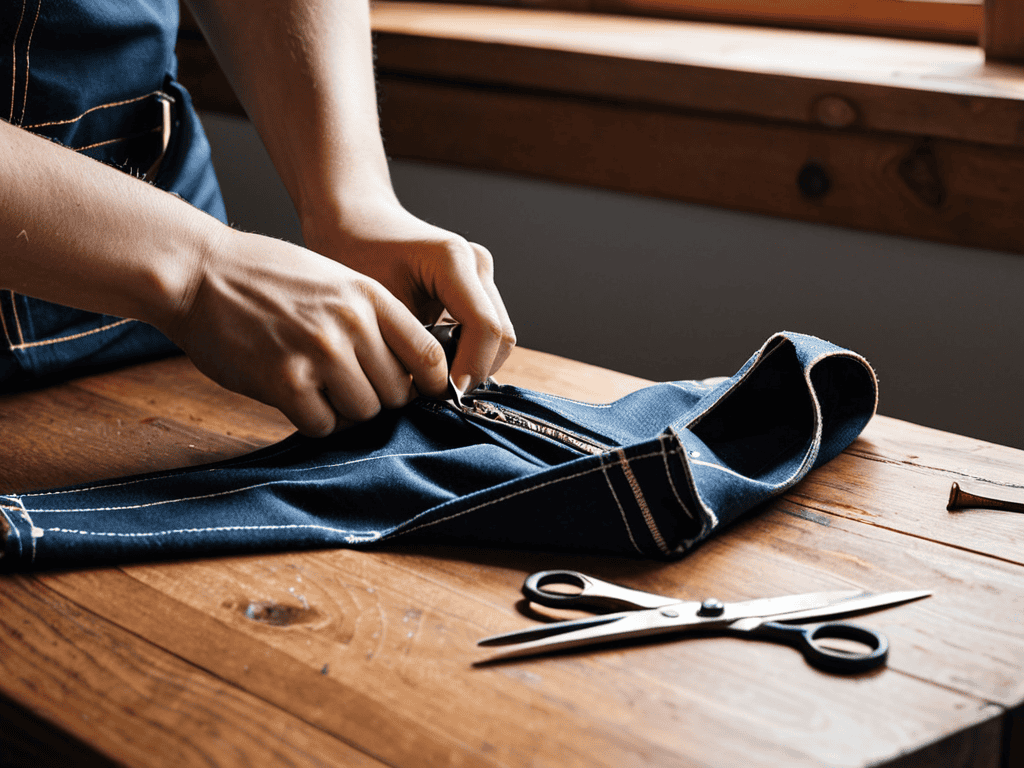
As I’ve experimented with no sew hemming techniques, I’ve discovered that the right fabric can make all the difference. For instance, thicker fabrics like denim or corduroy are much easier to work with when it comes to hand stitching, as they provide a more stable surface for your needle and thread. On the other hand, thinner fabrics like silk or cotton may require a bit more patience and finesse.
When it comes to DIY pant alteration, it’s all about precision and attention to detail. One of my favorite tips is to use a ruler or measuring tape to mark the desired hemline, ensuring a straight and even fold. This is especially important when working with fabrics that are prone to fraying or unraveling. By taking the time to carefully measure and mark your fabric, you can achieve a professional-looking finish without the need for a sewing machine.
For those new to hand stitching for beginners, I recommend starting with a simple running stitch or whipstitch. These stitches are easy to learn and can be used to secure a variety of hems, from casual trousers to more formal pants. With a little practice, you’ll be able to tackle even the most daunting emergency hem repair with confidence, and your handmade hems will look polished and professional.
Diy Pant Alteration Secrets
As I delve into the world of DIY pant alterations, I’ve discovered that it’s all about experimentation and creativity. One of my favorite secrets is using fabric glue to create a temporary hem, allowing me to test the length before committing to a permanent fix. I’ve also found that repurposing old clothes as fabric scraps can add a unique touch to my pant alterations. For instance, I once used an old t-shirt to create a decorative strip along the hem of my pants, giving them a one-of-a-kind look.
By embracing these DIY secrets, you can breathe new life into your old pants and give them a personalized touch. Whether you’re looking to add some flair or simply make your pants more comfortable, these DIY pant alteration secrets will help you achieve your goal without breaking the bank or relying on a sewing machine.
No Sew Hemming Techniques
No sew hemming techniques are a game-changer for those who want to avoid sewing altogether. One of my favorite methods is using hemming tape, which is a double-sided adhesive tape that you can apply to the inside of your pant leg. Simply fold the raw edge of the fabric up by the desired amount, press the tape into place, and you’re done! Another technique is using fabric glue, which is perfect for delicate or stretchy fabrics that can’t be sewn or taped. Just apply a small amount of glue to the edge of the fabric and fold it up to create a hem.
Sew-Free and Proud: 5 Essential Tips for Hemming Your Own Pants
- Precise Measurement is Key: Take your time to measure the perfect hem length, ensuring it’s even and suits your style
- Choose the Right Hemming Adhesive: With so many options available, select a high-quality fabric glue that’s strong, yet gentle on your pants
- Iron-On Hemming Web: A Game-Changer for No-Sew Hems, this nifty tool makes the process easier and more efficient
- Temporary Fix to Permanent Solution: Use clips or clamps to hold your hem in place while you work, making the process less frustrating and more enjoyable
- Practice Makes Perfect: Don’t be discouraged if your first attempt doesn’t turn out as expected – keep trying, and you’ll soon become a pro at hemming your own pants without a sewing machine
Key Takeaways for a Perfect Hem
By following these simple steps, you can give your pants a fresh new look without needing a sewing machine, saving you time and money
With a few basic tools and some creativity, you can master the art of hemming your own pants and apply these skills to other DIY alteration projects
Whether you’re a DIY novice or an experienced crafter, these hemming hacks and secrets will empower you to take control of your wardrobe and make it truly yours
Sewing Freedom
Hemming your own pants without a sewing machine isn’t just a practical skill, it’s a declaration of independence – every stitch is a reminder that with a little creativity, you can tailor your world to fit you perfectly.
Maya Torres
Rolling Up Your Sleeves: A Job Well Done
In this guide, we’ve covered the basics of hemming your own pants without a sewing machine, from the initial steps to the final touches. We’ve explored no sew hemming techniques, which can be a game-changer for those who want to avoid sewing altogether. Additionally, we’ve shared some valuable DIY pant alteration secrets that can help you achieve a professional-looking finish without breaking the bank. By following these steps and tips, you’ll be able to give your pants a fresh new look that fits you perfectly.
As you complete your hemming project, remember that it’s not just about altering a piece of clothing – it’s about taking control of your wardrobe and making it work for you. With these skills, you’ll be empowered to upcycle and repurpose old or ill-fitting clothes, reducing waste and saving money in the process. So go ahead, get creative, and show off your handmade hem – you’ve earned it!
Frequently Asked Questions
What types of pants are best suited for no-sew hemming techniques?
For no-sew hemming, I swear by working with stretchy fabrics like cotton-poly blends, joggers, or leggings. These fabrics are forgiving and easy to manipulate, making the no-sew process a breeze. Avoid thick or stiff fabrics like denim or heavy cotton – they’re trickier to work with. Trust me, I’ve tried!
Can I use a hot glue gun to hem delicate fabrics like silk or wool?
Honestly, I wouldn’t recommend using a hot glue gun on delicate fabrics like silk or wool – it can damage or discolor them. Instead, try using a needle and thread or a specialized adhesive like Fabric-Tac for a gentle, secure hold. Trust me, it’s worth the extra effort to preserve the beauty of those luxurious fabrics!
How do I prevent fraying when cutting the raw edge of my pants for a no-sew hem?
To prevent fraying when cutting the raw edge of your pants, try using a pair of sharp scissors or a craft knife, and cut in a smooth, continuous motion. You can also use a fray-checking spray or apply a small amount of clear nail polish to the cut edge to seal it and prevent fraying.