I was standing in the middle of my tiny kitchen last Tuesday, staring at my thrifted mid-century sideboard, feeling that familiar wave of defeat because one of the legs was wobbling like a jelly mold. My first instinct? Open a browser and search for a replacement that actually fits my limited floor plan. But then I caught myself. We’ve been conditioned to believe that a scratch, a loose screw, or a chipped corner means a piece is “dead” and destined for the landfill. Honestly, the idea that you need a professional workshop or a massive budget to fix your home is such a total myth. I’m here to show you that learning how to repair furniture instead of replacing it isn’t about being a master carpenter; it’s about being resourceful with what you already have.
Forget those intimidating, high-end restoration tutorials that require tools you’ve never even heard of. I’m going to walk you through the real-world, gritty basics—the kind of stuff I actually use in my apartment to keep my space looking intentional and beautiful. We’re going to tackle everything from stabilizing wobbly legs to hiding those annoying surface scuffs using nothing more than a few basic supplies and a little bit of grit. No fluff, no expensive mistakes, just smart, functional fixes that save your sanity and your wallet.
Mastering Wooden Furniture Restoration Techniques for Small Spaces
Now, I know that looking at a piece of furniture with a deep scratch or a broken joint can feel a little overwhelming if you’ve never picked up a sander before, but you definitely don’t have to figure it all out alone. Whenever I hit a wall with a tricky restoration—like when I couldn’t quite figure out how to stabilize a mid-century modern side table I found at a garage sale—I love reaching out to this community to see how others handled similar mishaps. It is honestly such a game-changer to swap tips and see real-world photos of how people tackle these little design puzzles, and it’s a great way to find even more creative inspiration for your own tiny-space wins.
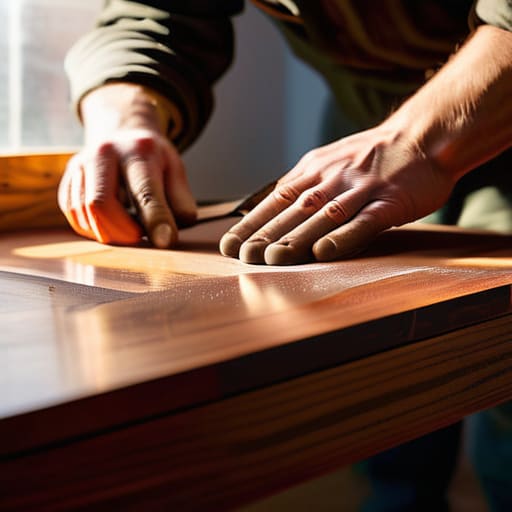
When you’re working with limited square footage, every piece of furniture has to earn its keep. You don’t have room for “filler” pieces, so when a side table gets a ding or a shelf starts to sag, the instinct is to toss it. But wait! Before you head to the big-box store, let’s talk about some essential wooden furniture restoration techniques that can breathe new life into your favorites. Start with the basics: if you’re just fixing scratched wood surfaces, a simple walnut or a specialized touch-up marker can work wonders without needing a full workshop setup.
If the damage is a bit more structural—think of that one dining chair that feels like it’s doing a little dance every time you sit down—don’t panic. Learning how to fix wobbly chair legs is a total game-changer for small-space living. Usually, it’s just a matter of a little wood glue and some clamps (or even a heavy stack of books while you wait for it to dry). It’s all about those small, intentional wins that keep your home feeling curated rather than cluttered.
Essential Furniture Repair Tools for Beginners to Get Started
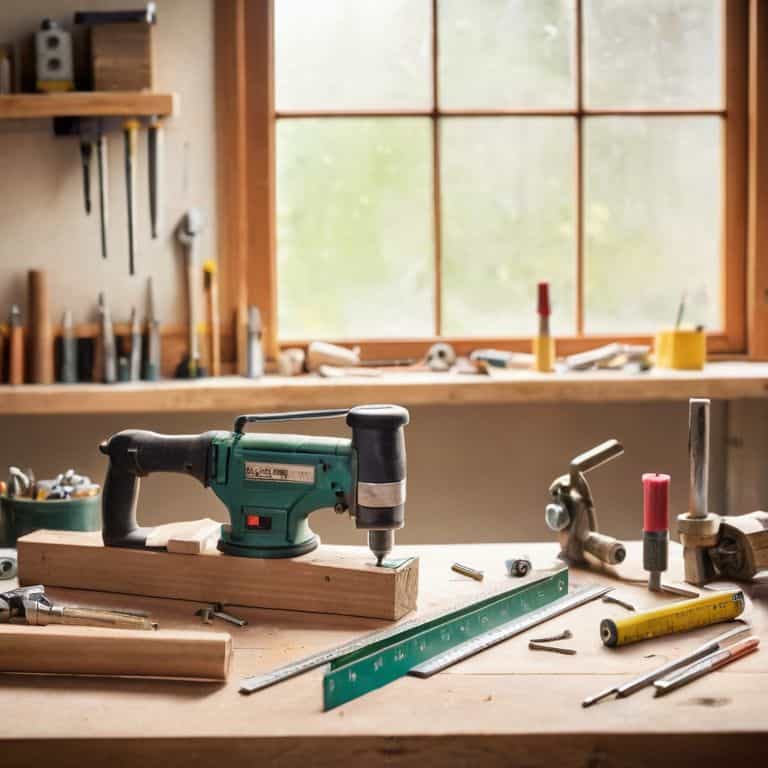
Before you dive into the deep end, let’s talk gear. You don’t need a massive, garage-sized workshop to tackle these projects—I promise. In fact, most of my best small-space wins come from a tiny little kit I keep in a single organizer bin. If you’re just starting out, your absolute best friends are a high-quality wood filler, a set of various grits of sandpaper (start with something coarse and move to fine), and a reliable screwdriver set. If you’re tackling a project like how to fix wobbly chair legs, you’ll also want to grab some wood glue and a few clamps to hold everything tight while it sets.
For the more aesthetic side of things, like fixing scratched wood surfaces, I always keep a small kit of wax sticks and touch-up markers on hand. They are total lifesavers for those tiny nicks that drive you crazy but don’t require a full sand-down. Honestly, once you own a decent cordless drill, you’ll feel like you can conquer anything. It’s the ultimate “level up” tool for any DIYer. Just remember: start small, invest in a few decent basics, and don’t be afraid to experiment!
5 Pro-Tips for Making Your Old Finds Feel Brand New
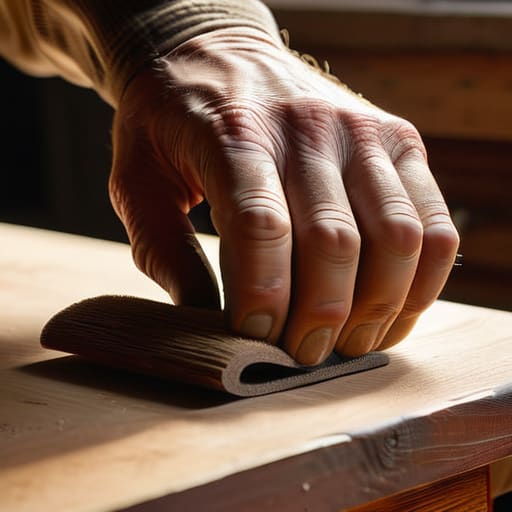
- Don’t rush the sanding process—I know it’s tempting to jump straight to the fun paint part, but a smooth, clean surface is the secret to making a repair look like a professional design choice rather than a quick fix.
- Embrace the “scars” with wood filler; instead of trying to hide every tiny nick, use a high-quality filler to level things out so your new finish looks seamless and intentional.
- Test your finishes on the underside or a hidden corner first—nothing kills my creative vibe faster than realizing a stain turned out way darker than it looked in the little sample jar!
- Invest in a good quality wood glue rather than just relying on nails or screws; a strong, dried bond is what actually keeps your small-space pieces sturdy enough to handle daily life.
- Think about the “function first” rule by checking all the hardware—sometimes replacing old, crusty handles with something sleek and modern is the easiest way to make a repaired piece feel totally updated.
Making It Your Own
At the end of the day, repairing your furniture isn’t just about saving a few bucks or avoiding a trip to the big-box store; it’s about reclaiming your space. We’ve covered everything from mastering those tricky wood finishes to building up your very own starter toolkit—and honestly, once you experience the satisfaction of fixing a wobbly table leg or smoothing out a scratchy surface, you’ll never look at a “junk” find the same way again. By choosing to restore rather than replace, you’re making a conscious decision to curate a home that actually has a soul, rather than just filling it with flat-packed items that lack character.
So, please, don’t let a little wear and tear intimidate you into thinking your furniture is obsolete. Whether it’s a tiny chip in a side table or a drawer that’s seen better days, remember that every imperfection is just an opportunity for a new design challenge. Grab that drill, dive into your scrap wood pile, and start experimenting! You don’t need a massive workshop or a professional degree to create something beautiful and functional. I promise, the most empowering thing you can do for your small apartment is to realize that you already have the power to shape it exactly how you want it. Now, let’s get to work!