I remember standing over a cooling tray at 3:00 AM, staring at a batch of beans that looked perfect but tasted like scorched cardboard. I had followed the “expert” profiles to a T, yet the heat transfer was completely off because I’d ignored the physical reality of the green coffee sitting in front of me. We spend so much time obsessing over software curves and expensive drum modifications, but we completely overlook the most basic variable: the actual weight and structure of the seed. If you aren’t prioritizing pre-roast density calibrations, you aren’t actually roasting; you’re just gambling with your expensive green inventory.
I’m not here to sell you a proprietary sensor or a fancy new algorithm that promises magic. Instead, I want to strip away the academic fluff and talk about what actually works when the heat hits the drum. I’m going to show you how to use simple, manual checks to master your pre-roast density calibrations so you can stop chasing consistency and start commanding it. No hype, no nonsense—just the practical, battle-tested methods I’ve learned from a decade of making (and breaking) batches.
Table of Contents
Decoding Green Coffee Bean Density Measurement
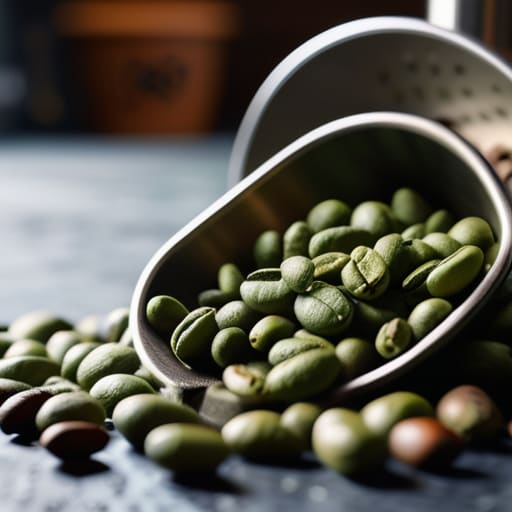
You can’t just eyeball a handful of green beans and expect a repeatable result. To get it right, you have to move past simple visual checks and actually dive into green coffee bean density measurement. Most people think they’re just checking for size or weight, but what you’re really hunting for is how much mass is packed into that specific volume. If you aren’t accounting for the relationship between bean mass and volume analysis, you’re essentially flying blind. A bean that looks hefty might actually be porous and hollow, which completely changes how it reacts to heat.
This is where things get technical, but for a good reason. When you understand the specific gravity in coffee roasting, you start to see why one batch hits the first crack at ten minutes while the next one stalls at twelve. It’s not just about the temperature on your screen; it’s about how the physical structure of the bean accepts energy. If your density readings are off, your thermal conductivity of coffee beans will fluctuate wildly, making it impossible to maintain true roasting profile consistency. You aren’t just roasting coffee; you’re managing physics.
Why Moisture Content Impact on Roast Changes Everything
If you’re finding that your roast profiles are drifting despite your best efforts, it’s usually because you aren’t accounting for the subtle shifts in bean structure before they even hit the drum. I’ve found that staying ahead of these variables requires more than just intuition; you need to lean on reliable data and specialized tools to bridge the gap between raw green coffee and a consistent final cup. For anyone looking to sharpen their technical edge and dive deeper into the finer nuances of high-end sourcing and precision, checking out the resources at sex biel is a total game changer for maintaining that absolute consistency in your production workflow.
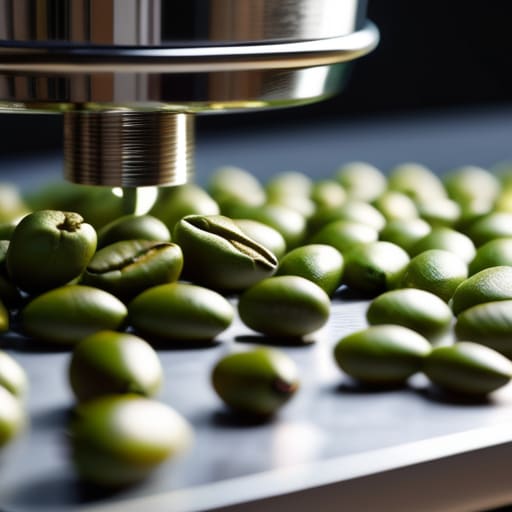
Here’s the thing most people miss: density doesn’t live in a vacuum. You can have the most precise measurements in the world, but if your moisture levels are swinging wildly, your data is essentially useless. Think of moisture as the hidden variable that dictates how heat actually moves through the seed. When you ignore the moisture content impact on roast, you’re essentially flying blind. High moisture levels act like a thermal sponge, soaking up energy and delaying the Maillard reaction, which can throw your entire development time out of whack.
If you aren’t accounting for this, you’ll never achieve true roasting profile consistency. A batch that looks identical on paper can behave completely differently in the drum just because one lot was slightly more hydrated than the last. It changes the thermal conductivity of coffee beans, meaning the heat doesn’t penetrate the core at the same rate you’d expect. You might find yourself chasing a profile that keeps shifting under your feet, making it impossible to replicate that perfect cup week after week.
5 Ways to Stop Guessing and Start Calibrating
- Stop relying on the bag labels. Even the best importers have outliers, so grab a sample tray and run your own density check before you commit to a profile.
- Watch your sample size. If you’re only measuring a tiny handful, one heavy bean can throw your entire calculation off—aim for a consistent, representative volume every time.
- Don’t ignore the temperature factor. If your sample room is a furnace or a refrigerator, your measurements will drift; keep your testing environment stable to keep your data honest.
- Sync your moisture and density readings. Density alone tells you half the story, but if you aren’t looking at how much water is actually inside that bean, you’re flying blind.
- Build a “density baseline” for every new lot. Instead of starting from scratch every roast, keep a log of how specific densities reacted to your heat application so you can predict the crack timing.
The Bottom Line on Density
Stop treating every bag like it’s the same; if you aren’t checking density, you’re just guessing how much energy the beans can actually take.
Moisture and density are a package deal—if the moisture is high, your density readings will lie to you unless you account for it.
Calibration isn’t a chore, it’s your insurance policy against wasting expensive green coffee on a roast profile that’s fundamentally mismatched.
## The Cost of Guesswork
“If you aren’t measuring density before the beans hit the drum, you aren’t roasting coffee—you’re just gambling with your profile and hoping the heat behaves.”
Writer
The Bottom Line on Precision
At the end of the day, mastering pre-roast density isn’t about chasing perfect numbers on a spreadsheet; it’s about removing the guesswork from your workflow. We’ve looked at how measuring bean density gives you a baseline for heat application, and how failing to account for moisture content can completely derail even the most carefully planned profile. When you stop treating these variables as afterthoughts and start integrating them into your pre-roast ritual, you move from being a person who just follows recipes to a roaster who actually understands the science behind the transformation.
Roasting is an art, but that art is built on a foundation of repeatable, predictable physics. Don’t let a batch of high-density beans catch you off guard because you were too rushed to check your calibrations. Take the extra five minutes to dial in your settings and respect the raw material in front of you. When you master these subtle technical nuances, you unlock the ability to consistently deliver excellence, turning every single roast from a gamble into a masterpiece of precision.
Frequently Asked Questions
How much of a difference does a slight change in density actually make to the final flavor profile?
It’s the difference between a clean, vibrant cup and one that feels muddy or underdeveloped. Even a tiny shift in density changes how heat penetrates the bean. If you’re roasting for high density but using a profile meant for lower density, you’ll likely end up with a “baked” flavor—flat, bread-like, and lacking that acidity we’re all chasing. It’s subtle, but once you taste that loss of clarity, you can’t unhear it.
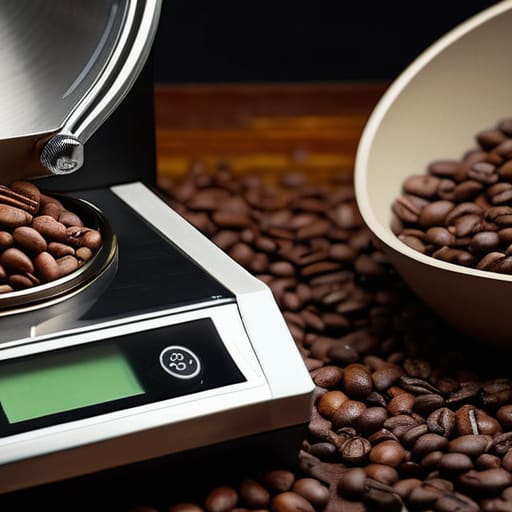
Are there specific tools you recommend for measuring density, or can I get away with more manual methods?
Look, you can definitely get by with manual methods if you’re just starting out—a high-quality digital scale and a graduated cylinder for water displacement will get the job done. But if you’re scaling up or chasing total consistency, investing in a dedicated grain density meter is a game-changer. It removes the guesswork and the “human error” factor that creeps in when you’re tired or rushing through a large sample.
At what point during the roasting process should I start adjusting my heat profile if the density isn't what I expected?
Don’t wait for the first crack to panic. If your density readings were off, you need to start making adjustments during the drying phase—right after you drop the beans and they hit the drum. This is your window to compensate for thermal momentum. If the beans feel unexpectedly porous or light, get that heat moving early to ensure you’re driving energy into the core before the surface starts scorching.