I still remember the first time I tried to make my own kombucha at home – it was a game-changer. I had heard all the rumors about how complicated and time-consuming the process was, but I was determined to give it a shot. And you know what? It was incredibly simple. In fact, learning how to make your own kombucha at home is one of the most rewarding experiences I’ve had in my journey towards healthy, sustainable living. I’ve found that with just a few basic ingredients and some patience, you can create your own delicious, fizzy kombucha right in your own kitchen.
As someone who’s passionate about reducing food waste and living a healthy lifestyle, I’m excited to share my tips and tricks for making kombucha at home. In this article, I’ll walk you through the entire process, from preparing the perfect brew to troubleshooting common issues. You’ll learn how to turn scraps into a tasty, probiotic-rich drink that’s not only good for you, but also for the planet. My goal is to empower you with the knowledge and confidence to start brewing your own kombucha, and to make it a fun and enjoyable experience. So, let’s get started on this journey towards homemade kombucha and discover the joy of creating something delicious and healthy from scratch.
Table of Contents
Guide Overview: What You'll Need
Total Time: 7 to 14 days
Estimated Cost: $20 – $50
Difficulty Level: Easy
Tools Required
- Large Glass Jar (at least 1 gallon capacity)
- Cheesecloth or Coffee Filter (for covering the jar)
- Rubber Band (to secure the cloth)
- Thermometer (optional, but recommended)
- Stirring Spoon
Supplies & Materials
- Kombucha Starter Culture (Scoby) (available online or from a health food store)
- Sugar (1 cup)
- Black Tea (8 to 10 tea bags)
- Water (1 gallon)
- Starter Tea (from a previous batch of kombucha or store-bought kombucha)
- Flavorings (optional) (e.g., fruit juice, herbs, or spices)
Step-by-Step Instructions
- 1. First, gather all the necessary ingredients and equipment, which include a SCOBY (Symbiotic Culture of Bacteria and Yeast), sugar, black tea, water, and a large glass jar. I like to use a mason jar, it’s my go-to kitchen tool for just about everything, including fermenting my favorite kombucha.
- 2. Next, brew a gallon of black tea by boiling 4 cups of water and then steeping 8 tea bags in it for about 5-10 minutes. While the tea is steeping, I like to think about all the health benefits that this homemade kombucha will bring, from improving digestion to boosting my energy levels.
- 3. After the tea has steeped, remove the tea bags and add 1 cup of sugar to the tea, stirring until it’s completely dissolved. This is an important step, as the sugar will feed the microorganisms in the SCOBY, helping them to thrive and ferment the tea.
- 4. Let the tea cool down to room temperature, which can take several hours. I like to use this time to prepare my fermentation station, making sure everything is clean and ready for the next steps. This includes washing my hands thoroughly and making sure the jar and any other equipment are sterile.
- 5. Once the tea has cooled, add the SCOBY to the liquid, covering the jar with a breathable cloth, such as a coffee filter or a paper towel, to keep dust and other contaminants out. I find that using a rubber band to secure the cloth is a great way to keep everything in place.
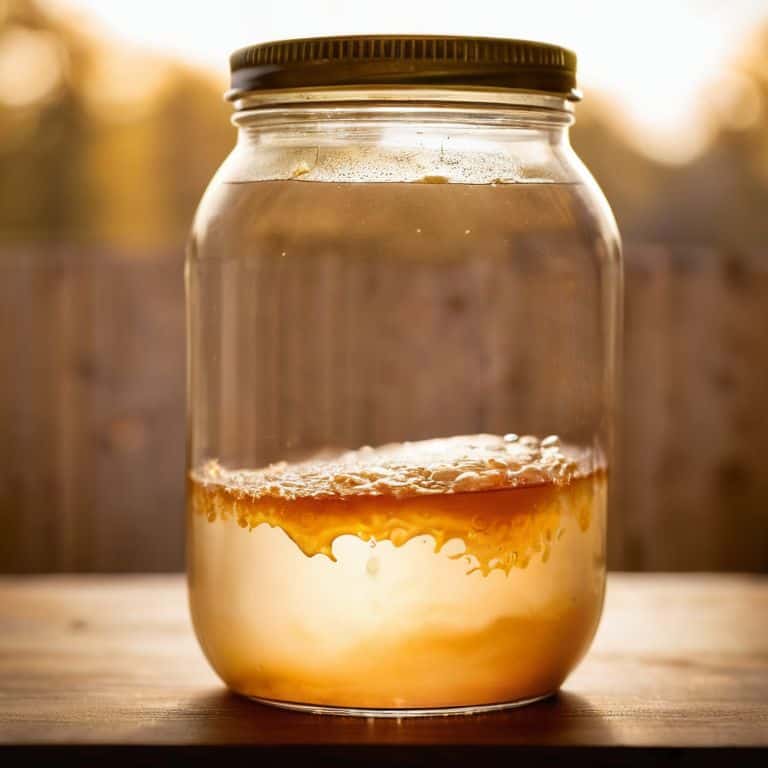
- 6. Place the jar in a warm, dark spot, such as a pantry or cupboard, and let it ferment for 7-14 days. The longer it ferments, the stronger the flavor and the more tangy it will be. I like to check on it after 7 days and taste it to see if it’s fermented to my liking.
- 7. After the fermentation process is complete, remove the SCOBY and transfer the kombucha to the refrigerator to slow down the fermentation process and halt the growth of the microorganisms. I like to use this opportunity to bottle and store my homemade kombucha, making it easy to grab and go whenever I need a refreshing drink.
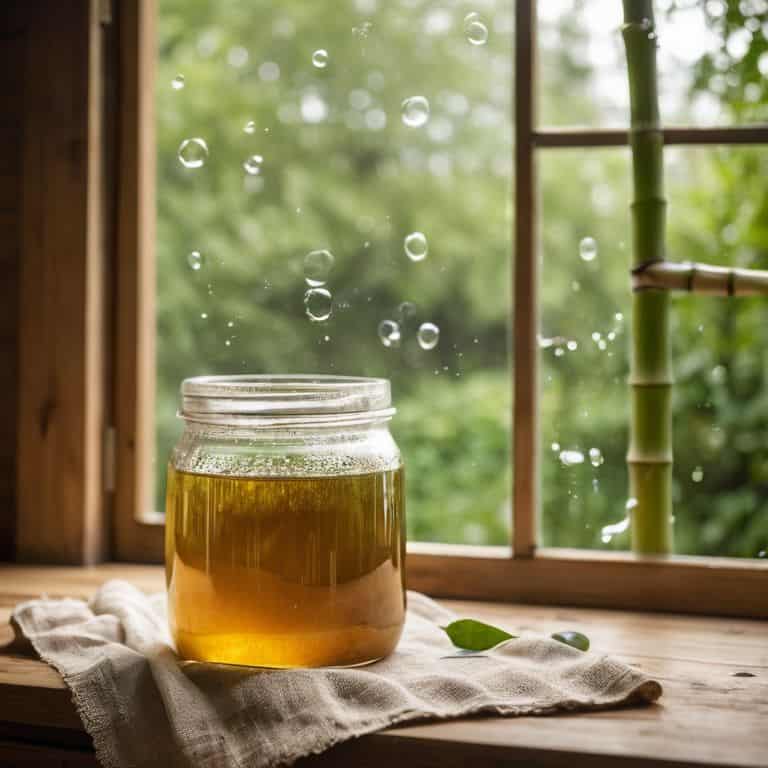
Fermenting Bliss at Home
As I sit in my cozy kitchen, surrounded by mason jars filled with fermenting delights, I feel a sense of joy and contentment. There’s something special about creating your own kombucha at home, and I’m excited to share some extra tips to enhance your brewing experience. One of the most important things to consider is the kombucha fermentation temperature, as it can affect the flavor and quality of your final product.
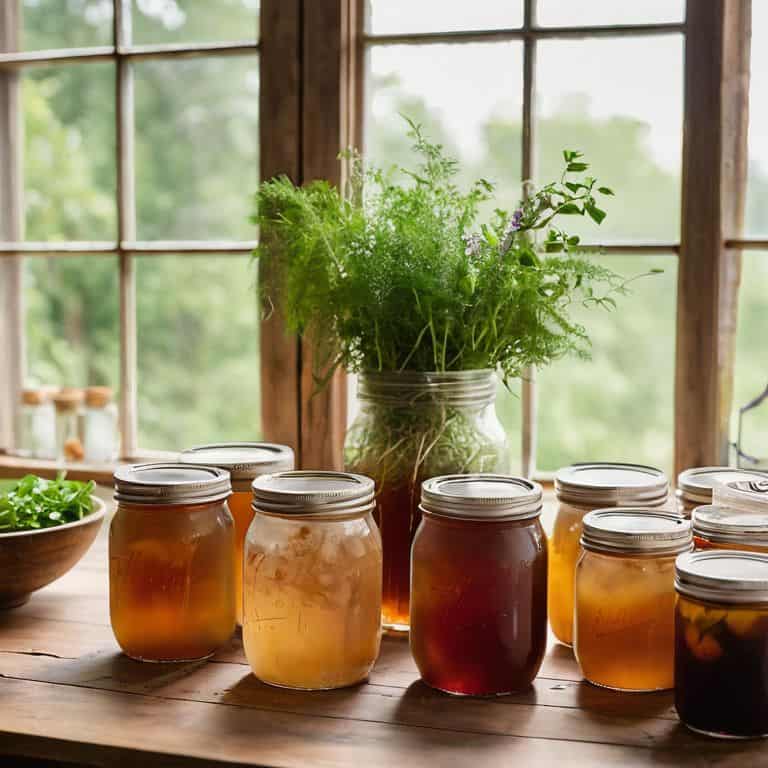
When it comes to flavoring your homemade kombucha, the possibilities are endless. I love experimenting with different fruits and herbs to create unique and delicious flavors. You can try adding slices of lemon, ginger, or berries to your secondary fermentation for a refreshing twist. If you’re new to brewing, I recommend starting with a kombucha recipe for beginners and then adjusting to your taste. Don’t be afraid to get creative and have fun with the process!
To ensure a successful brew, it’s essential to troubleshoot common issues that may arise during fermentation. This can include problems like mold, contamination, or uneven fermentation. By being aware of these potential issues, you can take steps to prevent them and enjoy a healthy, delicious batch of homemade kombucha. With a little practice and patience, you’ll be well on your way to becoming a kombucha-brewing pro and experiencing the benefits of homemade kombucha for yourself.
Brewing With a Kombucha Starter Kit
When I first started brewing kombucha, I used a starter kit and it was a game-changer. The kit usually includes a SCOBY (Symbiotic Culture of Bacteria and Yeast), starter tea, and instructions. I love that it takes the guesswork out of getting started. With a starter kit, you can begin brewing immediately and watch your SCOBY thrive. It’s amazing to see how quickly you can go from newbie to booch-brewing pro.
I recommend using a starter kit for anyone new to kombucha brewing. It’s a great way to ensure success and build confidence in your fermenting skills. Plus, it’s a fun way to experiment with different flavors and recipes. Give it a try and you’ll be sipping on fizzy, homemade kombucha in no time!
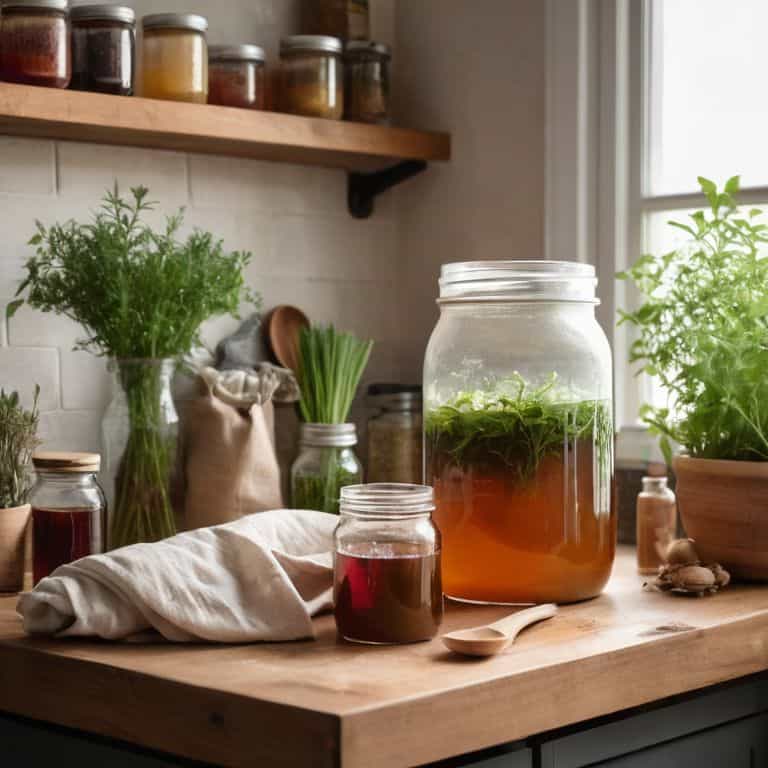
Unlocking Flavor in Continuous Brews
As I experiment with continuous brews, I’m constantly amazed by the depth of flavors that emerge. By leaving the spigot slightly ajar, I allow a small amount of liquid to flow out, making room for fresh sweet tea to be added. This subtle exchange creates a rich, velvety texture and a tangy taste that’s simply irresistible. I love watching my kombucha evolve, as new flavors meld with the old, creating a unique character that’s both familiar and exciting.
I’ve found that the key to unlocking flavor in continuous brews is to play with the tea blends and flavors. A pinch of citrus or a handful of fresh mint can completely transform the taste, keeping things fresh and exciting. It’s a fun journey, and one that I invite you to join – so don’t be afraid to get creative and see what delicious flavors you can uncover in your own continuous brews!
My Top 5 Tips for Homemade Kombucha Success
- Start with a healthy SCOBY: I always say, a happy SCOBY is the key to a great batch of kombucha – make sure yours is fresh and well-cared for
- Choose your tea wisely: While black tea is traditional, I love experimenting with green tea or herbal options for a unique twist on the classic flavor
- Don’t be afraid to get creative with flavors: From fresh fruits to herbs and spices, the possibilities are endless – and it’s a great way to use up scraps and reduce waste
- Keep it clean: Sanitize all your equipment and workspace before brewing to avoid contamination and ensure a smooth fermentation process
- Be patient and observe: Fermentation times can vary, so trust your instincts and taste regularly – you’ll know it’s ready when it’s tangy and slightly fizzy, just like I like it!
Nourishing Takeaways for Your Kombucha Journey
Embracing the art of homemade kombucha brewing allows you to reduce waste, save money, and nourish your body with probiotic-rich goodness, all from the comfort of your own kitchen
By experimenting with different flavors and continuous brews, you can unlock a world of fizzy, fermented delights that not only tantalize your taste buds but also support your overall well-being
A well-stocked pantry, paired with a little creativity, can turn scraps into treasures, making healthy eating and sustainable living accessible to everyone, regardless of kitchen size or budget
Brewing Wisdom
The art of making your own kombucha at home isn’t just about the recipe, it’s about embracing the beauty of imperfection and the joy of nurturing something from scratch – one delicious, fizzy batch at a time.
Jenna Matthews
Embracing the Fizzy Revolution
As we’ve journeyed through the world of homemade kombucha, I hope you’ve discovered that it’s not just about following a recipe, but about embracing a mindful approach to nutrition. From setting up your first brew to experimenting with continuous brews, the process is just as important as the end result. By now, you should feel confident in your ability to create your own fizzy, probiotic-rich drinks that not only tantalize your taste buds but also contribute to a healthier gut. Remember, the key to success lies in patience, experimentation, and a willingness to learn from your mistakes.
As you continue on this path, I encourage you to view homemade kombucha as more than just a drink – it’s a symbol of your commitment to sustainable living and self-care. With every batch, you’re not only nourishing your body but also reducing your environmental footprint. So, go ahead, get creative, and share your kombucha journey with others. Together, let’s spread the joy of fermented delights and make the world a healthier, more compassionate place, one jar at a time.
Frequently Asked Questions
What is the ideal temperature for fermenting kombucha at home?
For perfect fermentation, I aim for a cozy temperature between 68-72°F (20-22°C). This sweet spot allows the good bacteria and yeast to thrive, giving my kombucha that perfect balance of tanginess and fizz. Anything too hot or cold can slow down or even halt the fermentation process, so I always keep an eye on the thermometer!
Can I use any type of sugar when brewing kombucha, or are there specific recommendations?
When it comes to sugar for kombucha, I recommend using organic cane sugar or coconut sugar – they’re my go-tos. Avoid refined sugars and artificial sweeteners, as they can affect the fermentation process and the health benefits of your booch. Stick to these natural options for the best flavor and nutrition.
How do I know if my homemade kombucha has gone bad or if it's just going through a normal fermentation process?
Don’t worry, it’s normal for homemade kombucha to go through phases! If it’s too fizzy, sour, or has an off smell, it might be gone bad. Check for mold, sliminess, or a yeasty smell – if you notice any of these, it’s best to start fresh. Otherwise, trust your taste buds and remember, a little sediment is just part of the fermenting process!